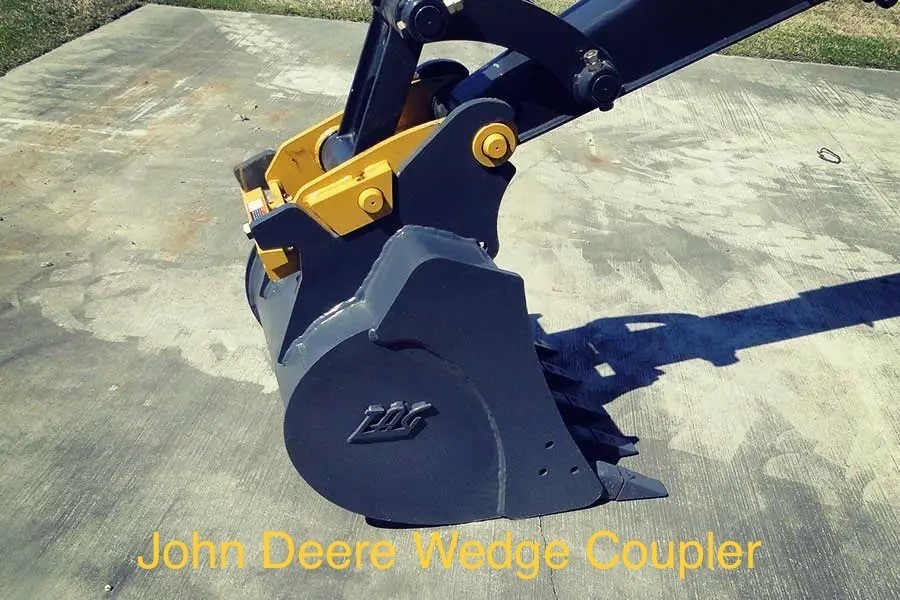
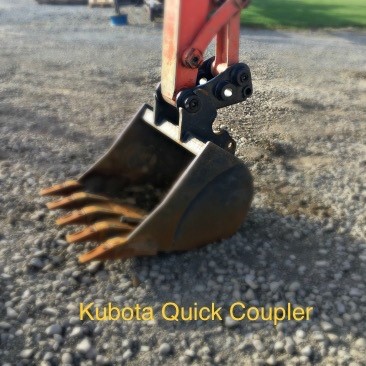
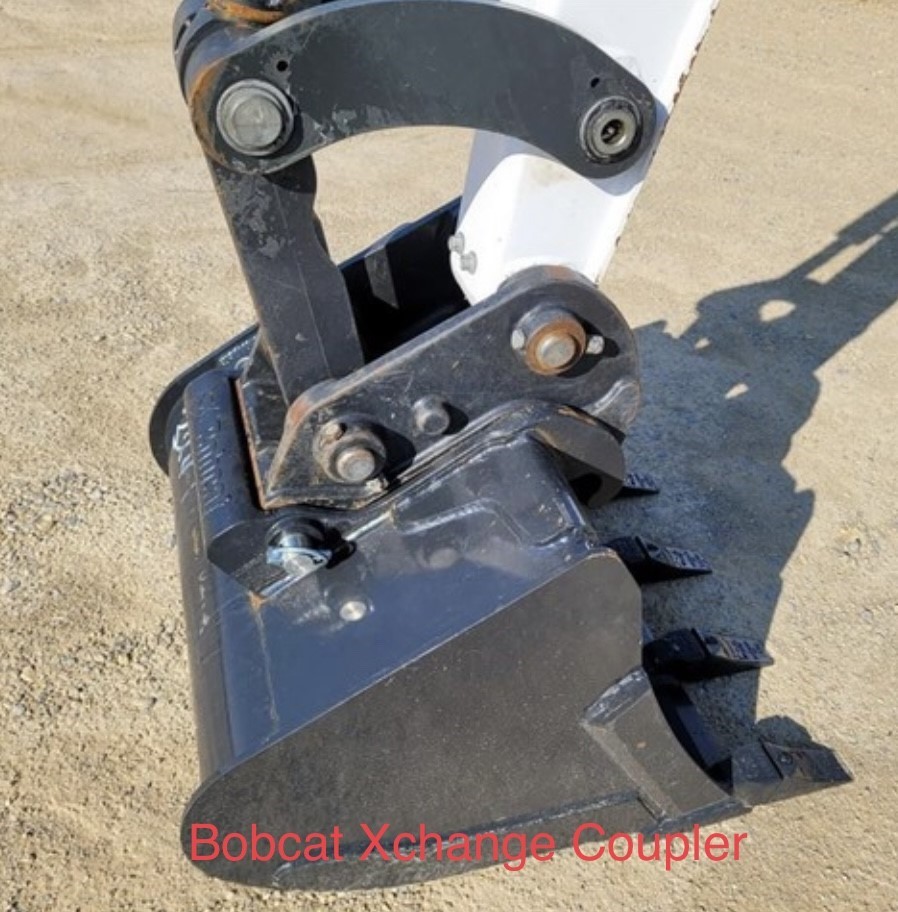
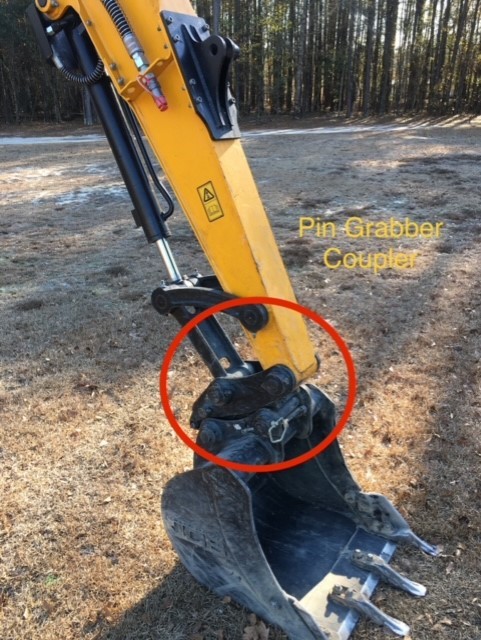
1. Remove the main pin from the bucket/coupler. If your machine uses a quick coupler, removing the bucket for the thumb installation may make it easier.
2. Align thumb and bucket bores and install supplied longer main pin. Include any spacer/shims to center thumb side to side on the stick.
3. Retain pin with supplied fasteners.
4. Remove port plugs of hydraulic cylinder and attach cylinder with supplied pin and fasteners to stick mount. Make sure grease fittings are pointed away from the stick.
5. Extend cylinder and connect rod end of the cylinder to thumb assembly and attach with included hardware.
6. Check the rotation of the thumb before applying hydraulic pressure.
7. Install fittings and hoses to the machine as required. Route hoses out of harm’s way.
8. Adjust auxiliary pressure to 2500 PSI.
9. Operate thumb and check for leaks. Grease all lubrication points on the thumb and cylinder.
1. Disconnect the battery before welding.
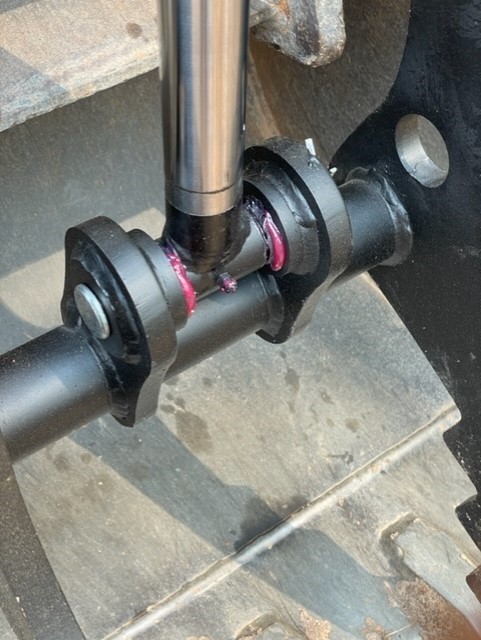
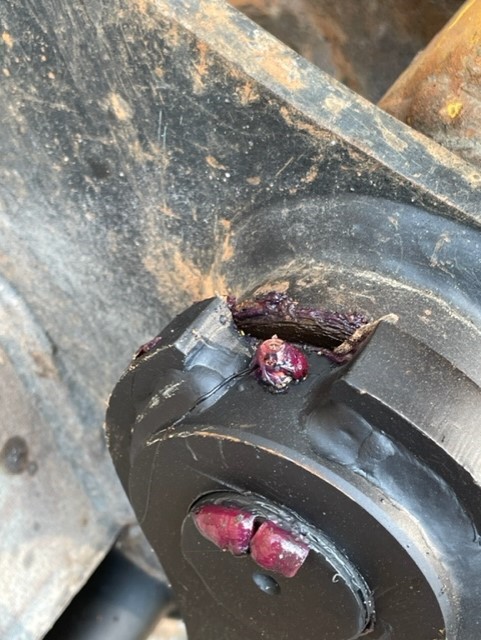
2. Clean area and weld entirely around the bracket.
3. Weld a 3/8 fillet on the sides of the bracket to the stick
NOTE: BE SURE TO GROUND WELDER THROUGH STICK AND NOT THROUGH CYLINDER. DO NOT WELD ANYTHING IN PLACE BEFORE CHECKING ROTATION
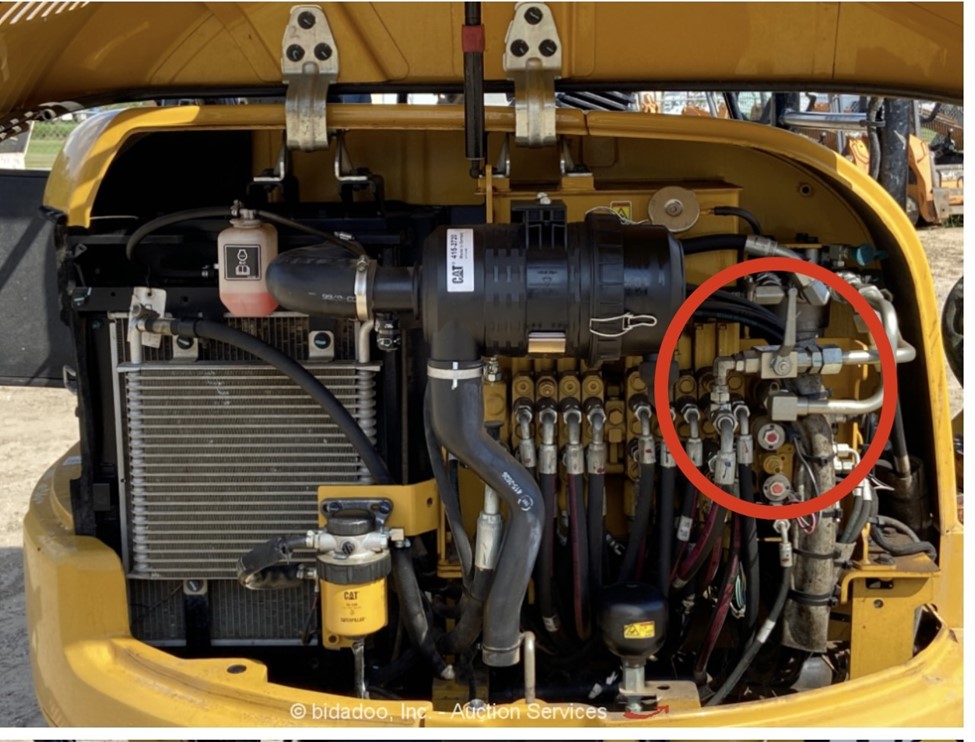
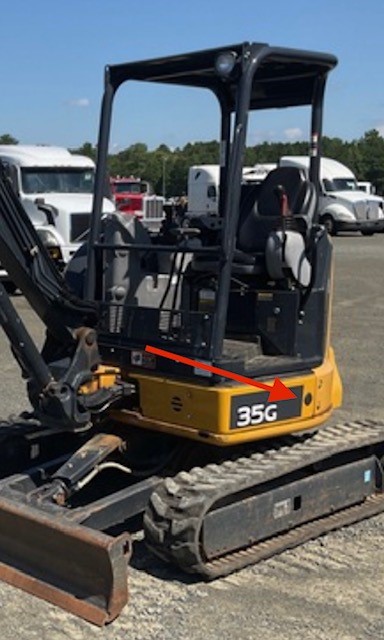
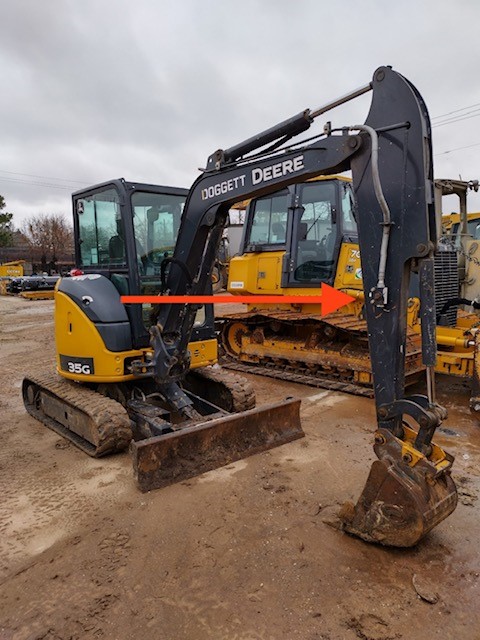
If you have installed your thumb and it will not work, check that your one-way valve is not in one-way flow. Generally, if the thumb only works one way, the one-way valve is in one-way flow or jackhammer mode. There will be a valve located near the hydraulic tank. On some newer machines, this may be done through the machine's computer. See attached photos of one-way valve locations.
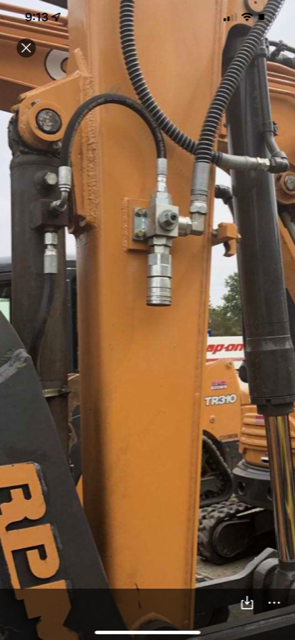
If your machine uses 3-way diverter valve blocks for hydraulic connections be sure they are in the open position.
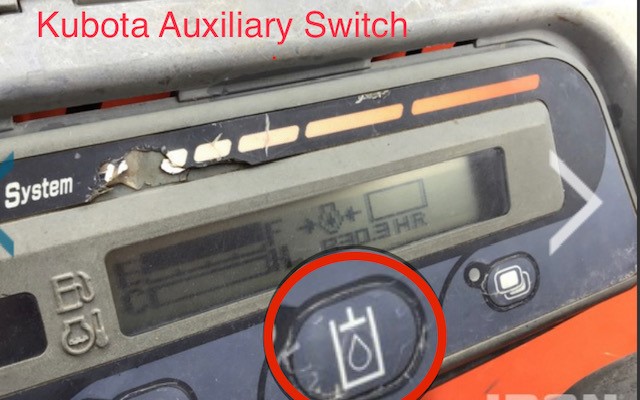
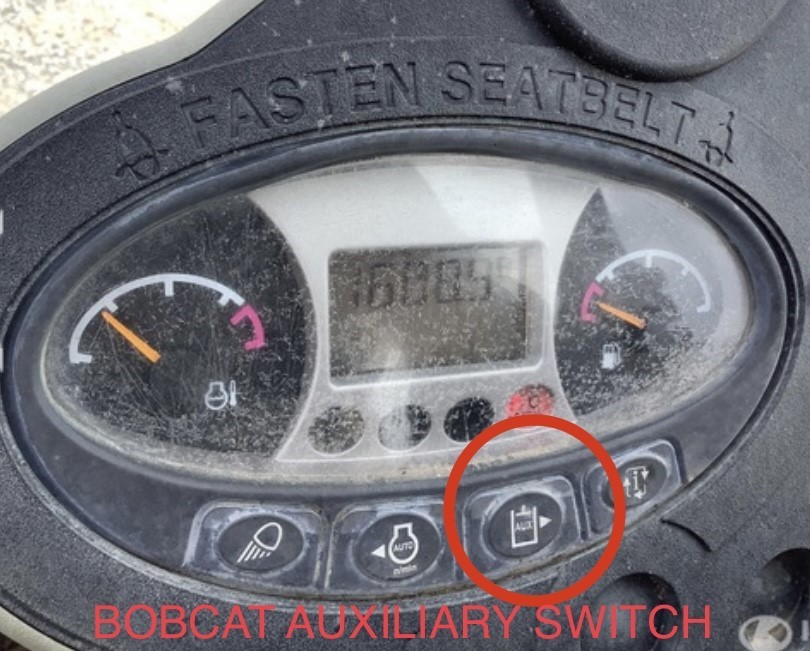
Some machines require you to press a button to turn on the auxiliary hydraulics including Bobcat and Kubota.
OX Thumbs require some maintenance to ensure a long and trouble-free life. The most crucial maintenance tip needed in an excavator's thumb is greasing. Greasing the pins on your thumb daily with use will help to ensure smooth operation over its lifetime. A well-greased pin keeps the metal-to-metal contact to a minimum and minimizes wear. A proper greasing technique involves pumping grease onto the fitting until you can visibly see the grease coming out around the pin. It is important to have grease come out into the gap around the pin because it protects the area surrounding the pin from dirt getting in and causing abrasive wear on your pins.
Inspection Before Use
• Check all bolts and nuts. Tighten any loose bolts or replace them if they are worn or missing.
• Check pins for excessive play or wear.
• Check hosing for frayed braiding or leaks.

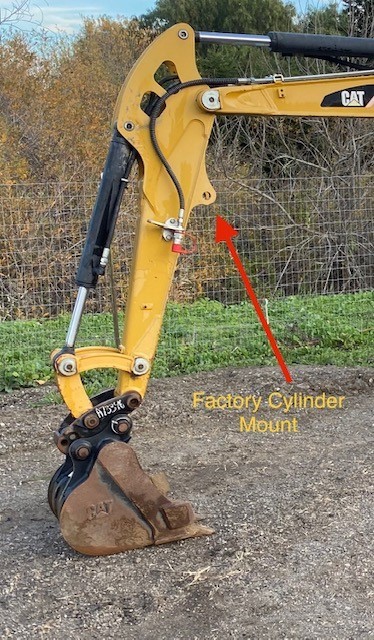
Most newer machine come from the factory with the cylinder mount required for the thumb cylinder. Some machine will require the mount to be welded on during installation.

Before installing the hydraulic components of the Ox Thumb, the auxiliary relief pressure needs to be adjusted to between 2200 to 2500 PSI. This can be checked with an appropriate pressure gauge installed into the auxiliary circuit and adjusted with the relief valve. In typical situations, the relief valve can be adjusted by turning it counterclockwise to lower the pressure, while clockwise will raise the pressure. Consult your machine's service manual for specifics on this procedure.
The bucket should override the thumb, so there is no damage to thumb components.
Not performing the adjustment can result in broken or bent cylinders, and we are not held responsible.
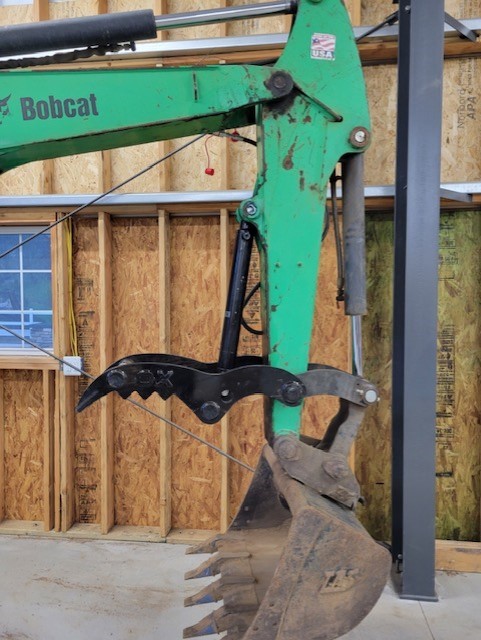
Be sure to mount the thumb to the main pin and not on the top links as pictured.
Avoid damage! Improper use of your thumb will damage machine and/or thumb. Do not use thumb:
As a pry bar to loosen objects
Apply back pressure such as back dragging
Excessive side force
As an area to wrap a chain or rope for lifting purposes..
Altered attachments.
Even after building a robust and durable product, misuse and neglect can damage our product in the harsh construction world.
